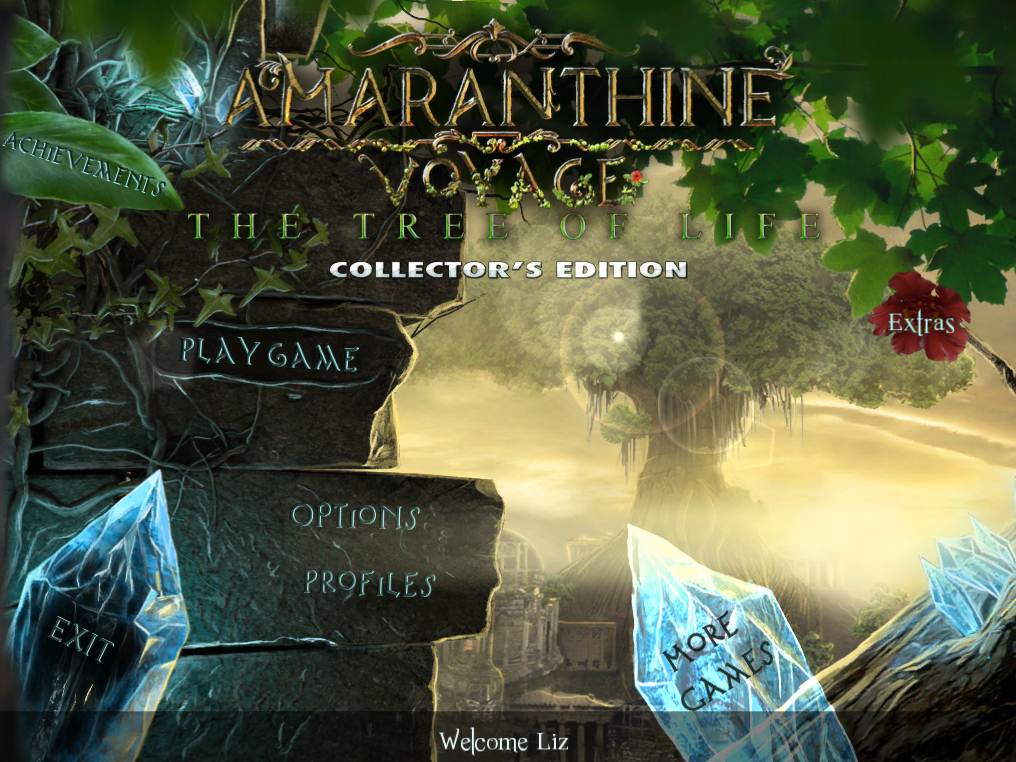
Amaranthine Voyage: The Tree of Life
Our Amaranthine Voyage: The Tree of Life Walkthrough will be your guide as you face the unknown to save a dying world. There are times as an archaeologist when you hold a piece of history in your hands and know it’s significant; when you found your current artifact, you knew it to be such a moment. The strange orb seems to indicate that the mythical Tree of Life may be more than just legend but your expedition takes a turn for the dangerous, though, when your airship is attacked by strange red wisps. Now you must uncover not only the truth behind the Tree of Life, but also how its survival is attached to a dying world. Our helpful hints, step-by-step instructions, and custom screenshots are sure to help you as you struggle to find a way to save the world and yourself.
Chapter One: The Airship
Chapter Two: The Forest and Temple
Chapter Three: Coming Soon!
Ask for help in the comments below!
Welcome to our Amaranthine Voyage: The Tree of Life Walkthrough, where you’ll find all the tips and helpful hints you’ll need to defeat the looming darkness. Our plethora of custom edited screenshots and endless step-by-step instructions will guide you as you explore a new world and discover the means of saving the Tree of Life. We hope you enjoy our Amaranthine Voyage: The Tree of Life Walkthrough.

Opening Story:
In Amaranthine Voyage: The Tree of Life, you are an archaeologist who has found an artifact that proves the mythical Tree of Life is more than just a legend. But when you begin a voyage to find the Tree your airship is attacked by strange red spirits and forced to crash land in a beautiful new world. Now you must find a way to save the magical Tree of Life, otherwise the world itself is doomed.
General Tips for playing Amaranthine Voyage: The Tree of Life
Difficulty – Two modes: Casual and Expert. In Casual Mode the hint and skip buttons charge quickly, active areas will be indicated by glimmering sparkles, and the map will show you your location with available actions and objectives. In Expert mode the hint and skip buttons charge more slowly, active areas are not indicated, and the map will only show you your location and objectives.
Arrow Cursor – An arrow appears it means you can move in that direction.
Hand Cursor - When a hand appears it means you can pick up an item and add it to your inventory.
Magnifying Glass Icon - When a magnifying glass appears it means you can zoom into an area to get a better look.
Hidden Object Scenes - Hidden object scenes will be indicated by sparkles.
Inventory - Your inventory can be found at the bottom of the screen. You can lock it to keep your inventory showing at all times or you can leave it unlocked, in which case your inventory will shrink when you’re not interacting with it.
Hints - The hint button is the blue crystal sphere found in lower left hand corner of your screen. Just remember, the button takes time to charge before you can use it again
Map - The map is in the lower left hand corner of your screen near the diary and the menu. The map will show you where you are, what your objectives are, and in Casual Mode will tell you any available actions.
Diary - Your diary can be found in the lower left hand corner of your screen near the menu and the map. It has a journal, which has the story so far, and your objectives.
Gold Blimp - There are 40 small blimps hidden throughout the game and the blimp icon in the lower right hand corner will turn gold and stay that color when you are in a room with a little blimp that hasn’t been found yet. The blimp will turn silver when the little blimp has been found.
Menu - The menu button is located at the bottom left portion of your screen near the map and your diary.
Skip - During mini-games, if you are having trouble or maybe you just don't feel like solving it, you can click on the skip button.
Those are the basics for playing Amaranthine Voyage: The Tree of Life; good luck! We hope you enjoy our Amaranthine Voyage: The Tree of Life Walkthrough.
Chapter One: The Airship
Chapter Two: The Forest and Temple
Chapter Three: Coming Soon!
Ask for help in the comments below!
